
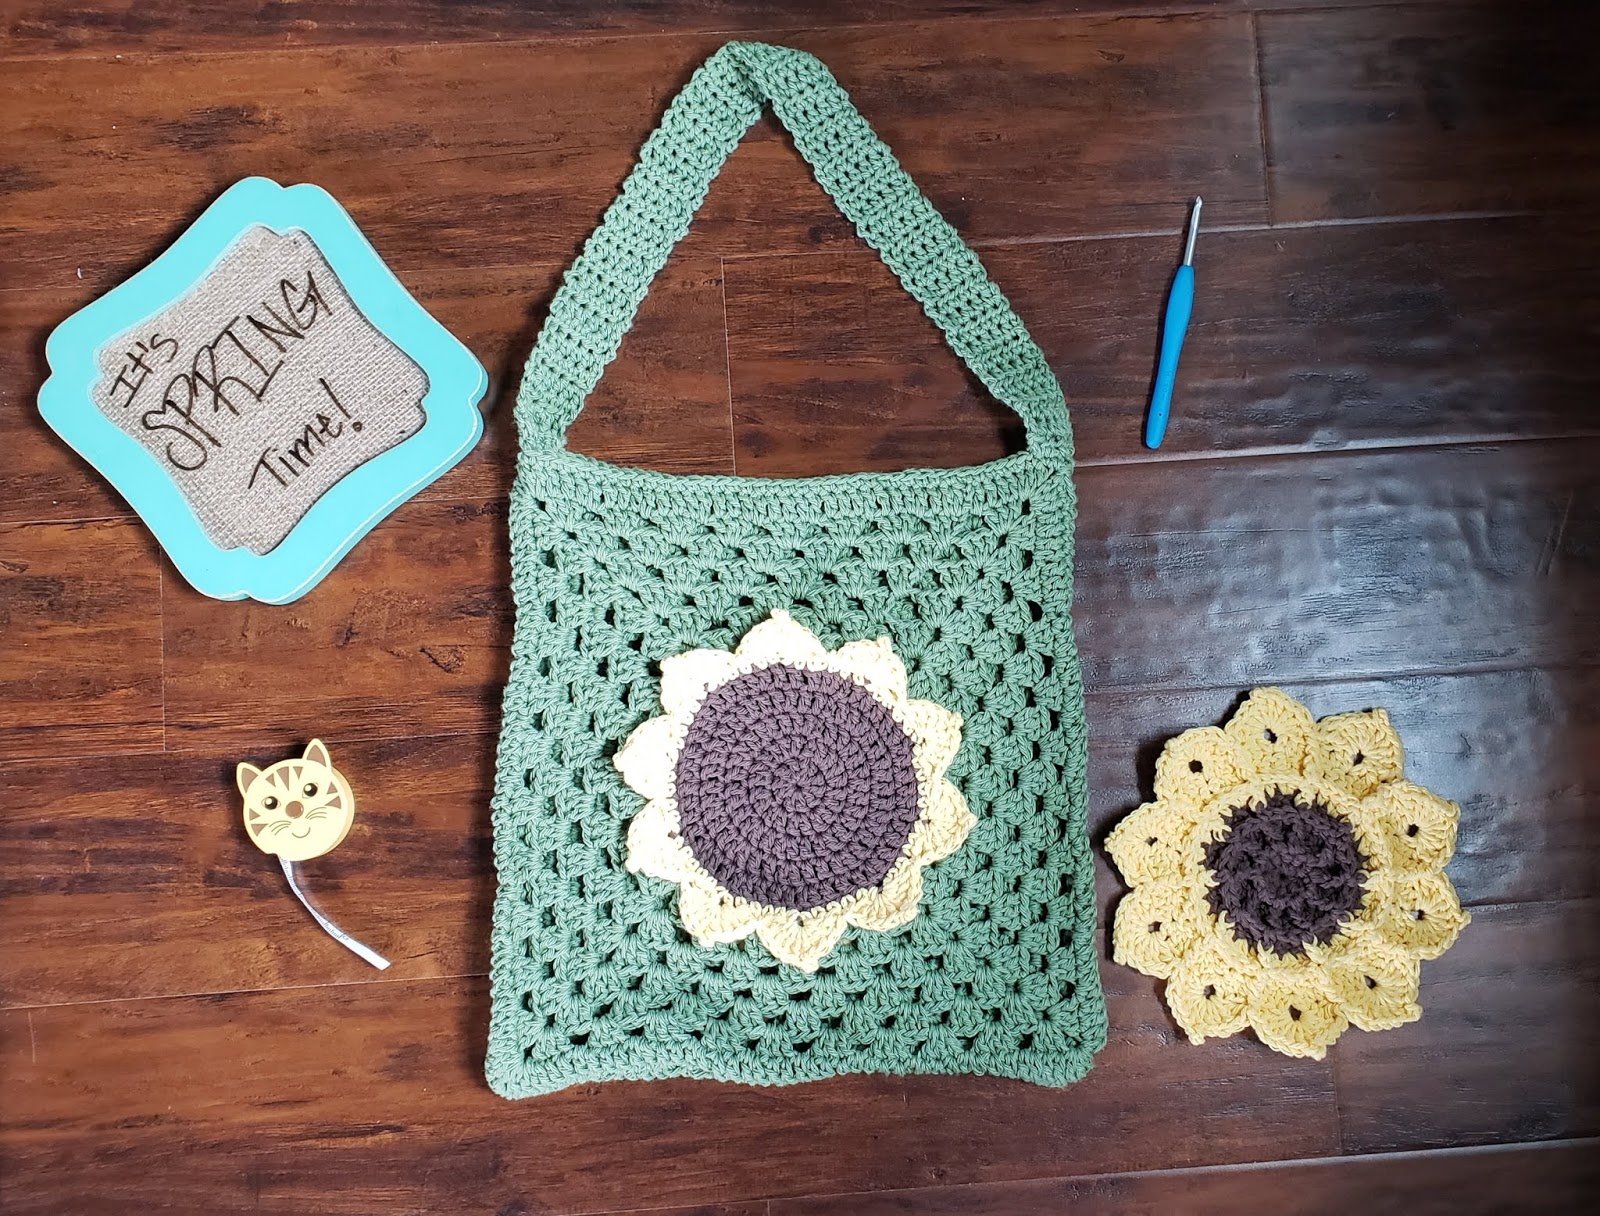
So this is part of my flower obsession lately, it is worked in the round (well square too). And works up pretty fast. It’s made of two panels seamed together and then a quick handle.
Materials:
Lily sugar’n cream in brown(one), yellow(one) and green (super size or two skeins).
H (5.0 mm) hook
Yarn needle, and scissors
Gauge: gauge is not super vital to this project. 1 finished panel is approximately 12 in. by 12 in.

Notes:
- In the round for the brown the ch 2 does not count as a stitch
- In the green square the chain 3 does count as a stitch
- this pattern is worked in the round with as little complication as I could manage
- the first round of the green is worked in the back loops only
Starting with brown:
Center of Flower:
Round 1: Ch 3, in third chain DC 10, sl to top of first DC to make circle. (10 dc)
Round 2: ch 2, 2 DC in next stitch, 2 DC in each stitch around sl to top of first DC (20 dc)
Round 3: ch 2, *2 DC in next stitch, 1 DC in next stitch, repeat from * to end of round, sl to top of first dc (30 dc)
Round 4: ch 2, *2 DC in next stitch, 1 DC in each of the next two stitches, repeat from * to end of round, sl to top of first DC (40 dc)
Round 5: ch 2, 2 DC in next stitch, *1 DC in each of the next 3 stitch, repeat from *until 4 stitches remain, DC in each of the last 4 stitches, pick up green by sl through back loop of first DC but instead of yarning over with brown, pull through green to start the granny square (49 dc)

Granny Square Panel:
The next round is worked in the back loop only of the brown circle.
Round 6: with the green you pulled up, ch 1, 3 hdc in the same stitch, ch 1, skip two stitches, 3dc in next stitch, ch 1 skip 2 stitches, 3 trc in next stitch, ch 2, 3 trc in next stitch, ch 1, skip 2 stitches, 3 DC in next stitch, ch1, skip 2 stitches, 3 Hdc in next stitch, ch 1, skip 2, 3 DC in next stitch, ch 1, skip 2, 3 trc in next stitch, ch 2, 3 trc in next stitch, ch 1, skip 2, 3 DC in next stitch, ch 1, skip to stitches, 3hdc in next stitch, ch 1, skip 2, 3dc in next stitch, ch 1, skip 2, 3trc in next stitch, ch 2, 3 trc in next stitch, ch 1, skip 2 stitches, 3 DC in next stitch, ch1, skip 2 stitches, 3 Hdc in next stitch, ch 1, skip 2, 3 DC in next stitch, ch 1, skip 2, 3
trc in next stitch, ch 2, 3 trc in next stitch, ch 1, skip 2, 3 DC in
next stitch, ch 1, skip 2, sl to top of first hdc. This completes the first round of the square.
Round 7: Ch 3, 2dc over last ch 1 from row before; (now the ch 3 counts as a stitch, for purposes of the square) ch 1, 3 dc in the ch 1 space from the row before, repeat until you reach ch 2 space, in chain 2 space 3dc ch 2 3 dc. repeat pattern around until you reach start of round, sl to top of starting ch. 3.
Round 8-12: repeat round 7. (add more rounds for a larger bag).
Round 13: Ch. 3, DC in each stitch from the row before, including the ch. 1 space, repeat until you reach the corner, in ch. 2 space 2 dc ch2 2 dc,; repeat until you reach the end of round; sl to top of ch 3 and bind of.

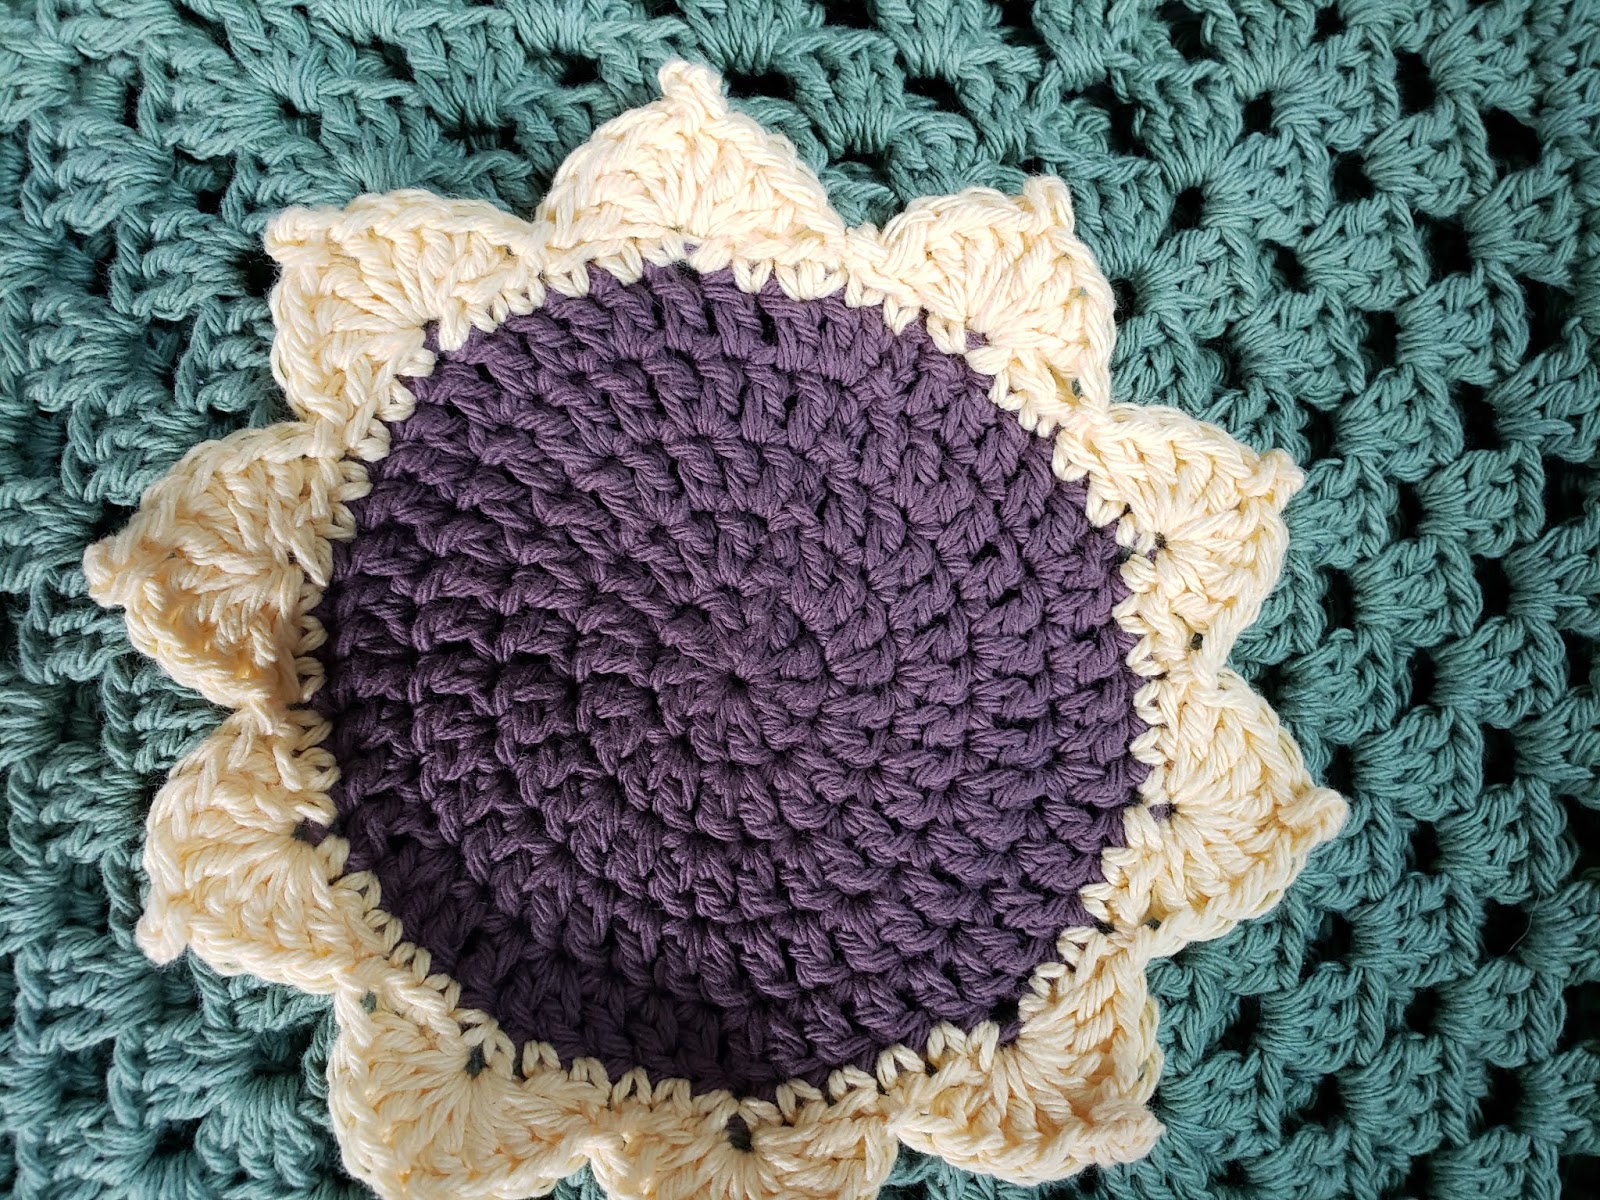
Flower Petals:
 For the first round, where you can go through both loops use both loops, where you can’t only go through front loop, this helps make it more secure.
Round 1: with Yellow, pull up a loop at any point on the brown circle, ch 1, 1 sc in next 2 stitches, in next stitch sc ch1 sc; *1 sc in next 4 stitches; in next st sc ch1 sc. Repeat around until you reach last two stitches, sc in each of last 2 stitches.
Round 2: this round creates the petals: in each ch 1 space in the round before 4 dc, ch 1, sl to ch 1 this creates the point on the petal, 4 dc; sl to skip 3 and sl to sc from row before. Repeat for each ch 1 space; Creates 10 petals;
Create 2 of these panels; when both panels are done; place wrong sides together, and seam together on 3 sides by sc through each dc, starting on a corner;

Seaming:
When you reach the top of the third sides ch 1 and turn bag right side out again; then sc in the space between the panels, sc in each stitch around with 1 between the panels on the other side as well, sl to top of first sc;

Handle:

Row 1: sl over 2 stitches ch 1 and turn 1 hdc in each of next 5 stitches; ch 1;
Row 2: Ch 1, turn, 1 hdc in each stitch across;
Row 3-54: Repeat row 2 (add more rows here if desired for a longer handle, but make sure you end so that your last row will be on the inside of the bag.
Row 55: ch 1 starting 2 from the seam between the panels, on inside of bag, Sc to the panel by going through the loops of your last row and the loops of the sc that make the top of the bag. 5sc across including the one in between the panels.
Fasten off and weave in ends! and share a pic and tag me @tinyfarmcrafts on instagram! I’ll share fe
I hope you enjoy this design and make it your own! I think there could be a lot of awesome color options.

DISCLAIMER: This pattern has not been tested and is community tested by the people that chose to make it, if you have an issue please contact me before leaving a negative comment and I will help you sort out what is going on. You may make and sell any of my designs but where possible please link back to my site. The photos here are mine, and cannot be used for purposes of sales or listings.