

I designed this hat for my younger sister, it varies between a tight fit and a slight slouch depending on the size of your head. It could also be suitable for men.
A printable version is available for download on my ravelry account.
A printable version is available for download on my ravelry account.
MATERIALS
- ·
Less than 170g aran or worsted weight yarn (I
used Redheart Yarn With Love in Pewter) - ·
5.00 mm (H hook); I used Clover Amour H hook - ·
Scissors and needle for finishing
STITCHES AND
ABBREVIATIONS
ABBREVIATIONS
- ·
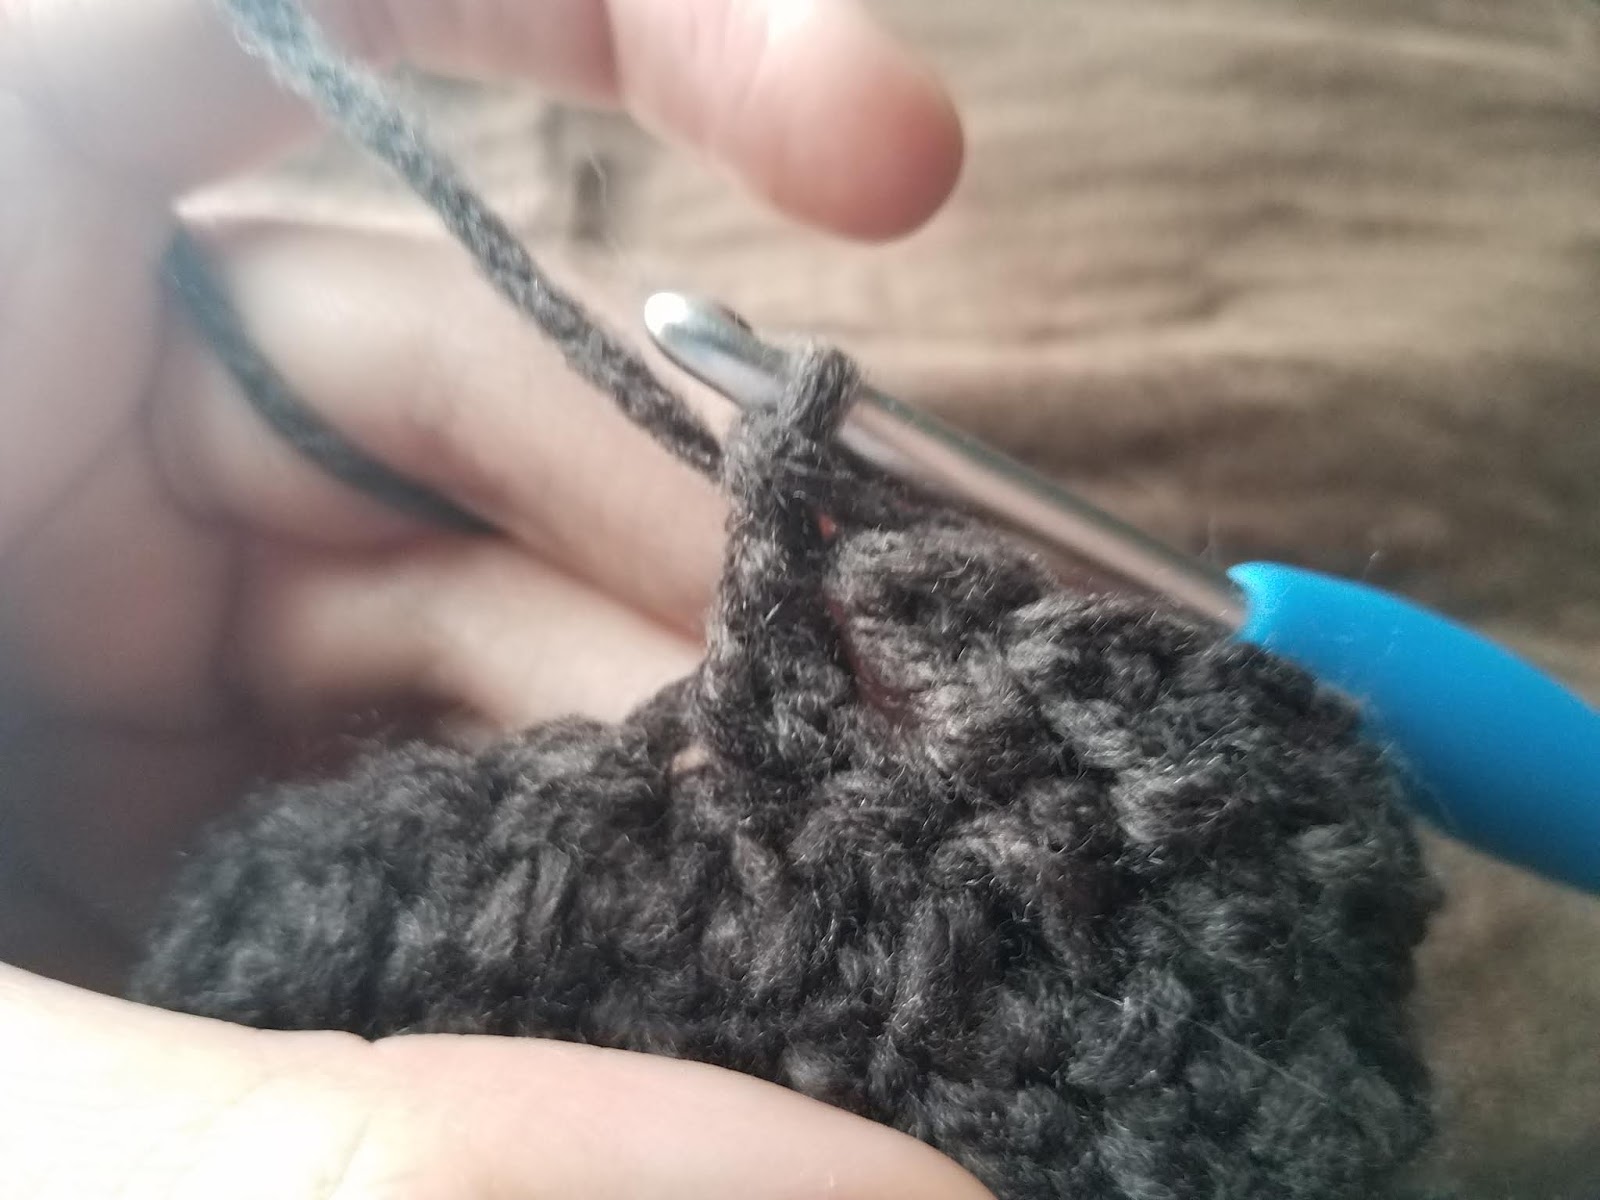
Single Crochet, Back Loops only (SC BL): Pull
one loop through half of the stitch furthest from you, yarn over and pull
through two loops. - ·
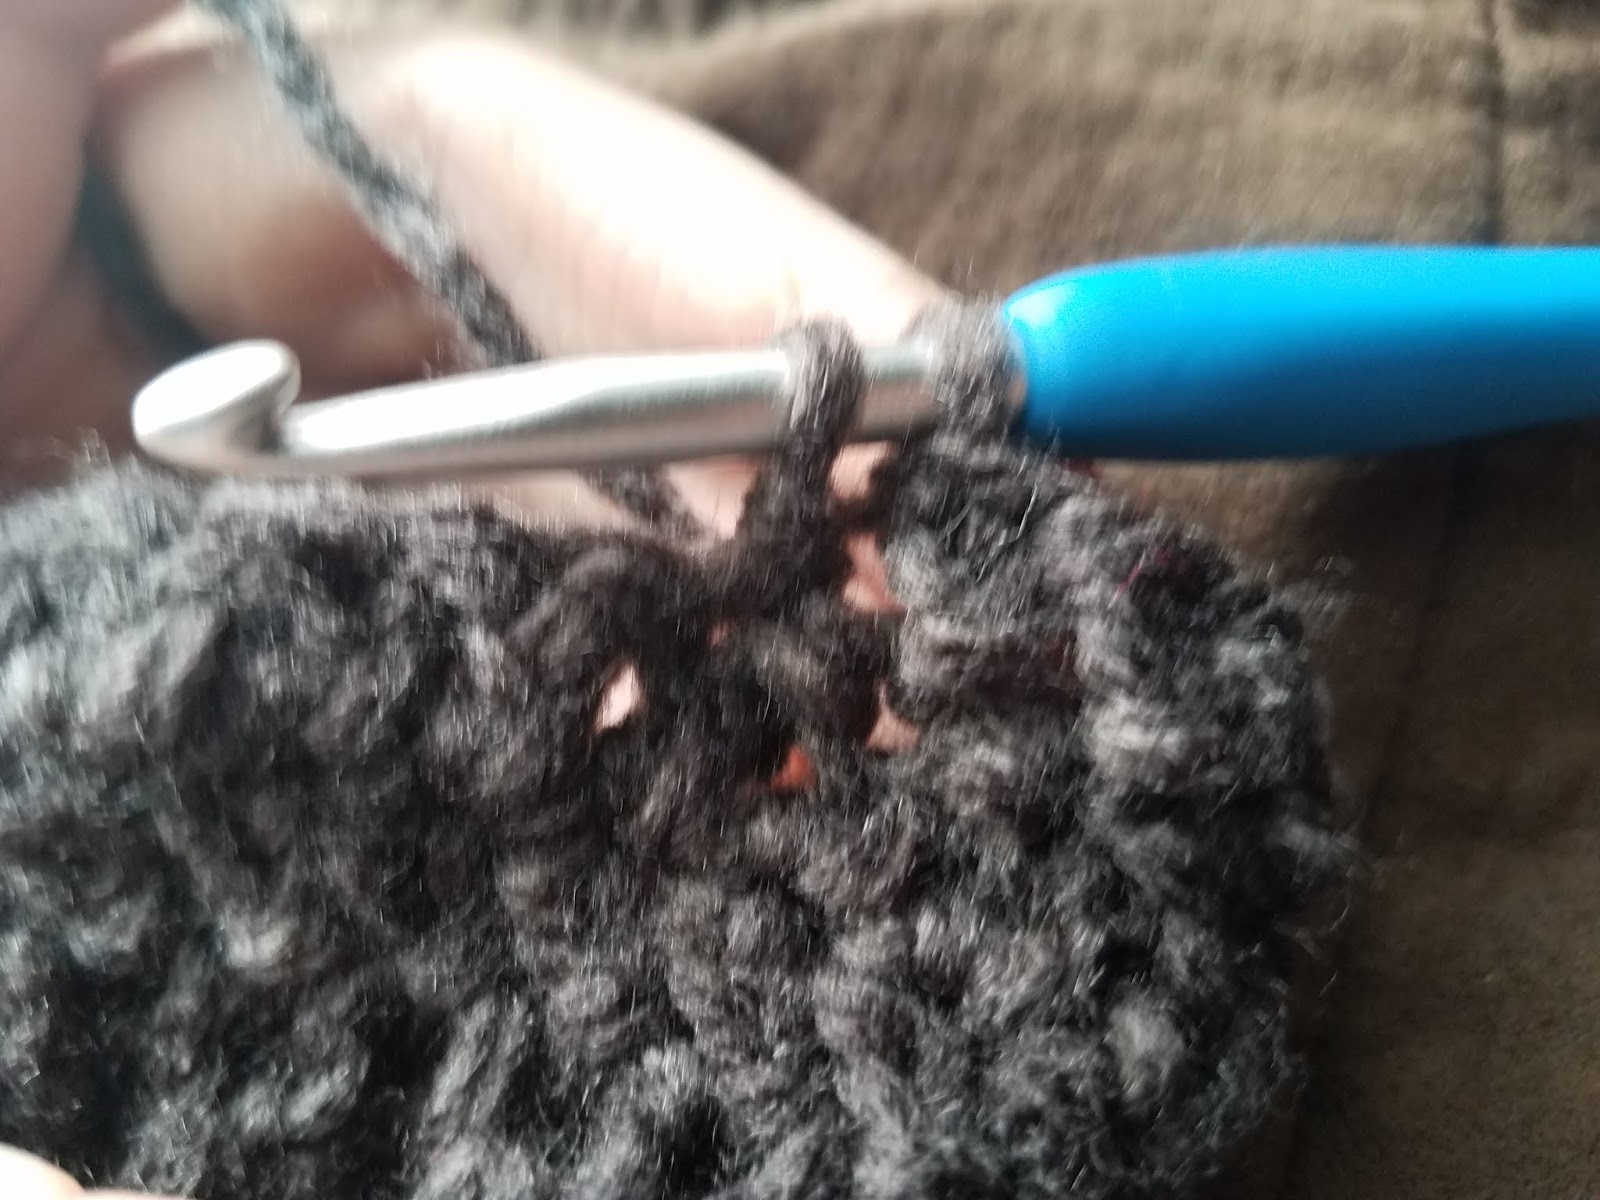
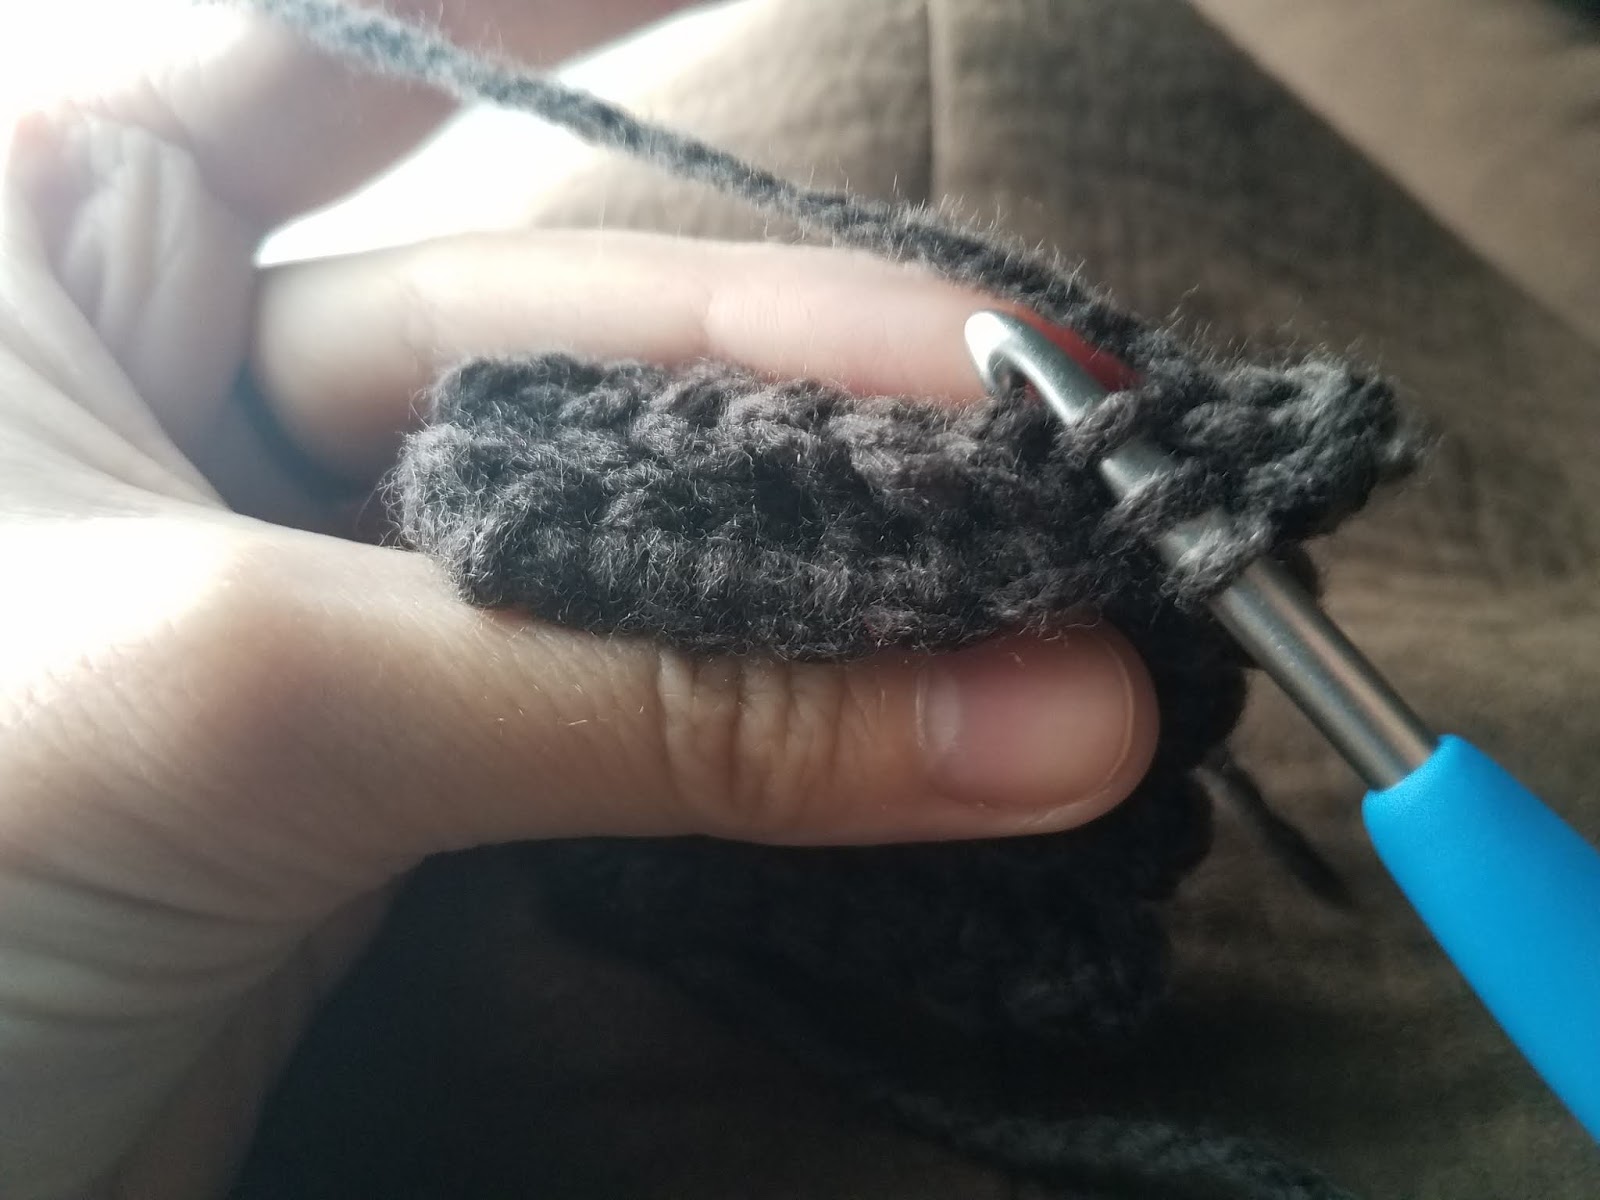
Herring Bone Double Crochet (HB): yarn over and
pull up a loop (3 on hook), pull first loop through second loop (2 on hook),
yarn over and pull through first loop (2 on hook), yarn over and pull through
both loops to finish
 |
 |
 |
 |
- ·
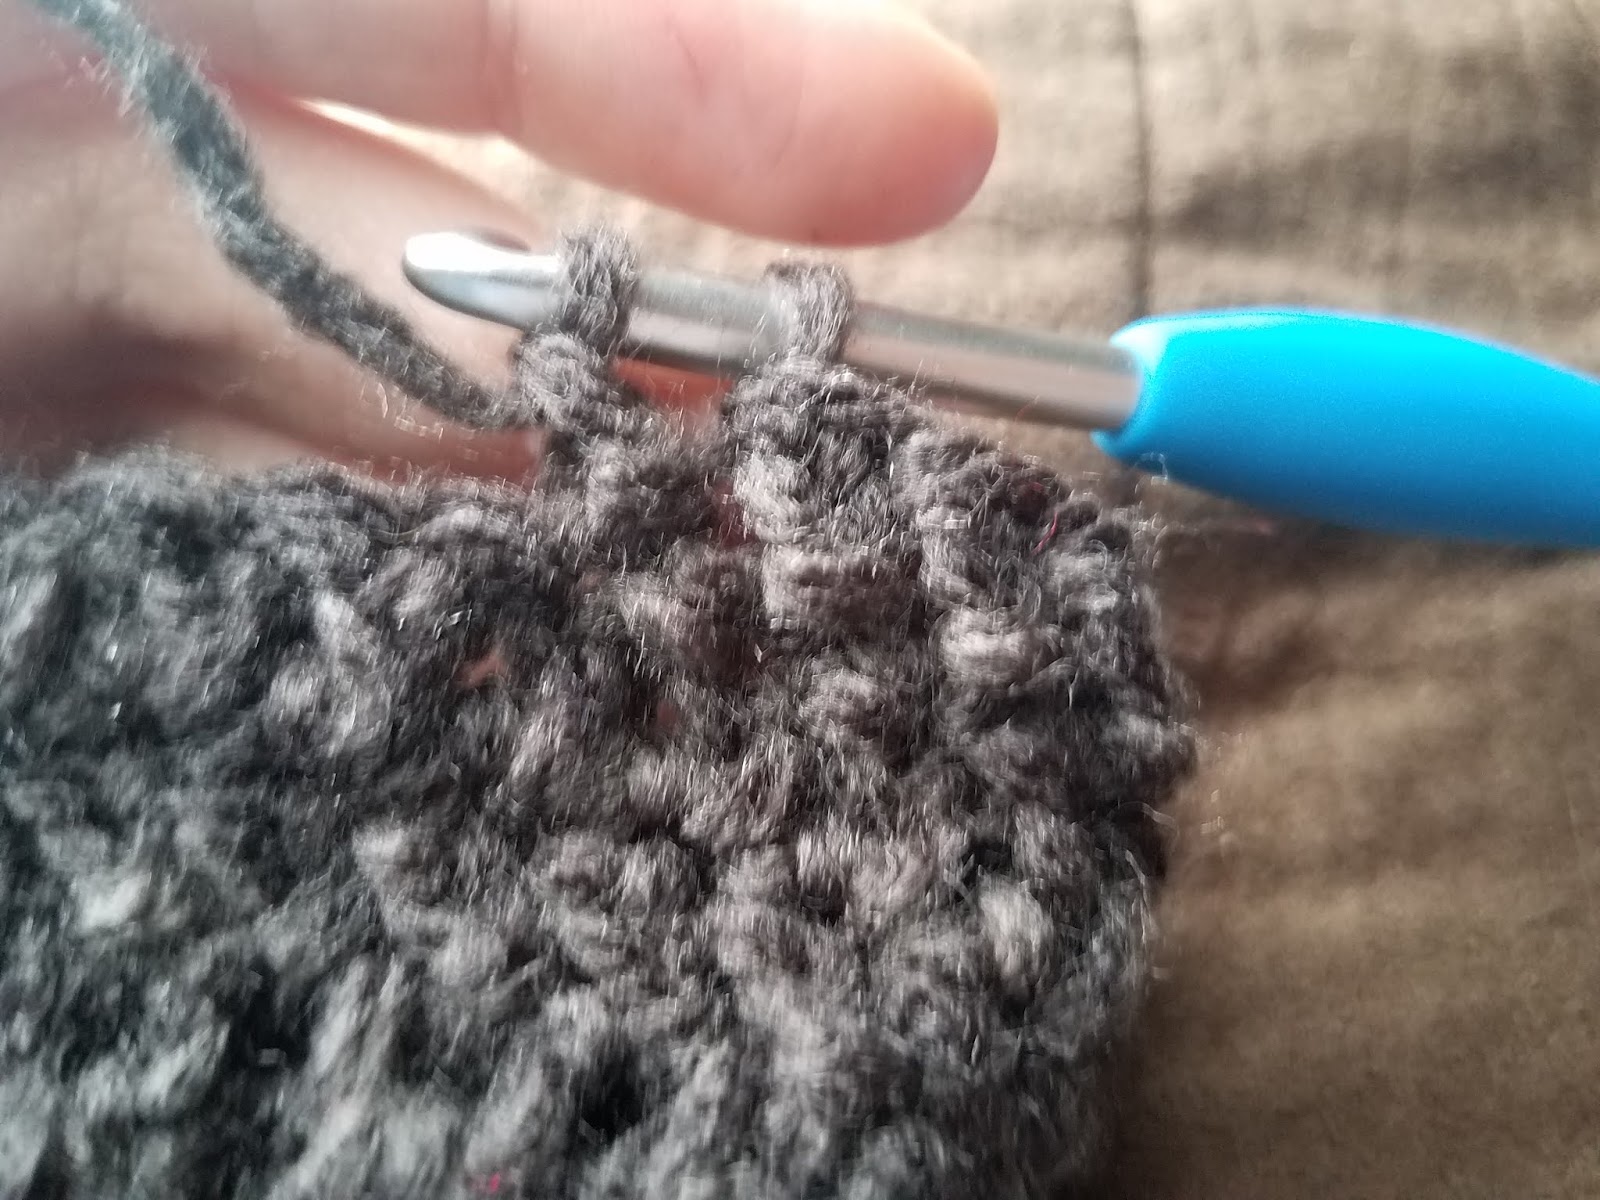
Herring Bone two Together(HB2TOG) This is the
decrease stitch: Yarn over, pull up a loop,, (3 on hook) pull up a loop in next
stitch (4 on hook), pull first loop through second loop, (3 one hook), yarn
over, pull through 2 loops (2 loops on hook) yarn over pull through 2 loops to
finish.
 |
 |
 |
 |
- ·
Single Crochet (SC) - ·
Slip stitch (SL) - ·
Chain (CH)
GAUGE
- ·
12 SC for the ribbed brim should measure
approximately 3 inches - ·
4 rows measure approximately 1 inch.
OTHER NOTES AND TIPS
- ·
Ch 2 in each round does not count as a stitch - ·
Sl to the top of the first stitch, not the ch in
each round to join - ·
There are simple increases and decreases using
the stitch described above
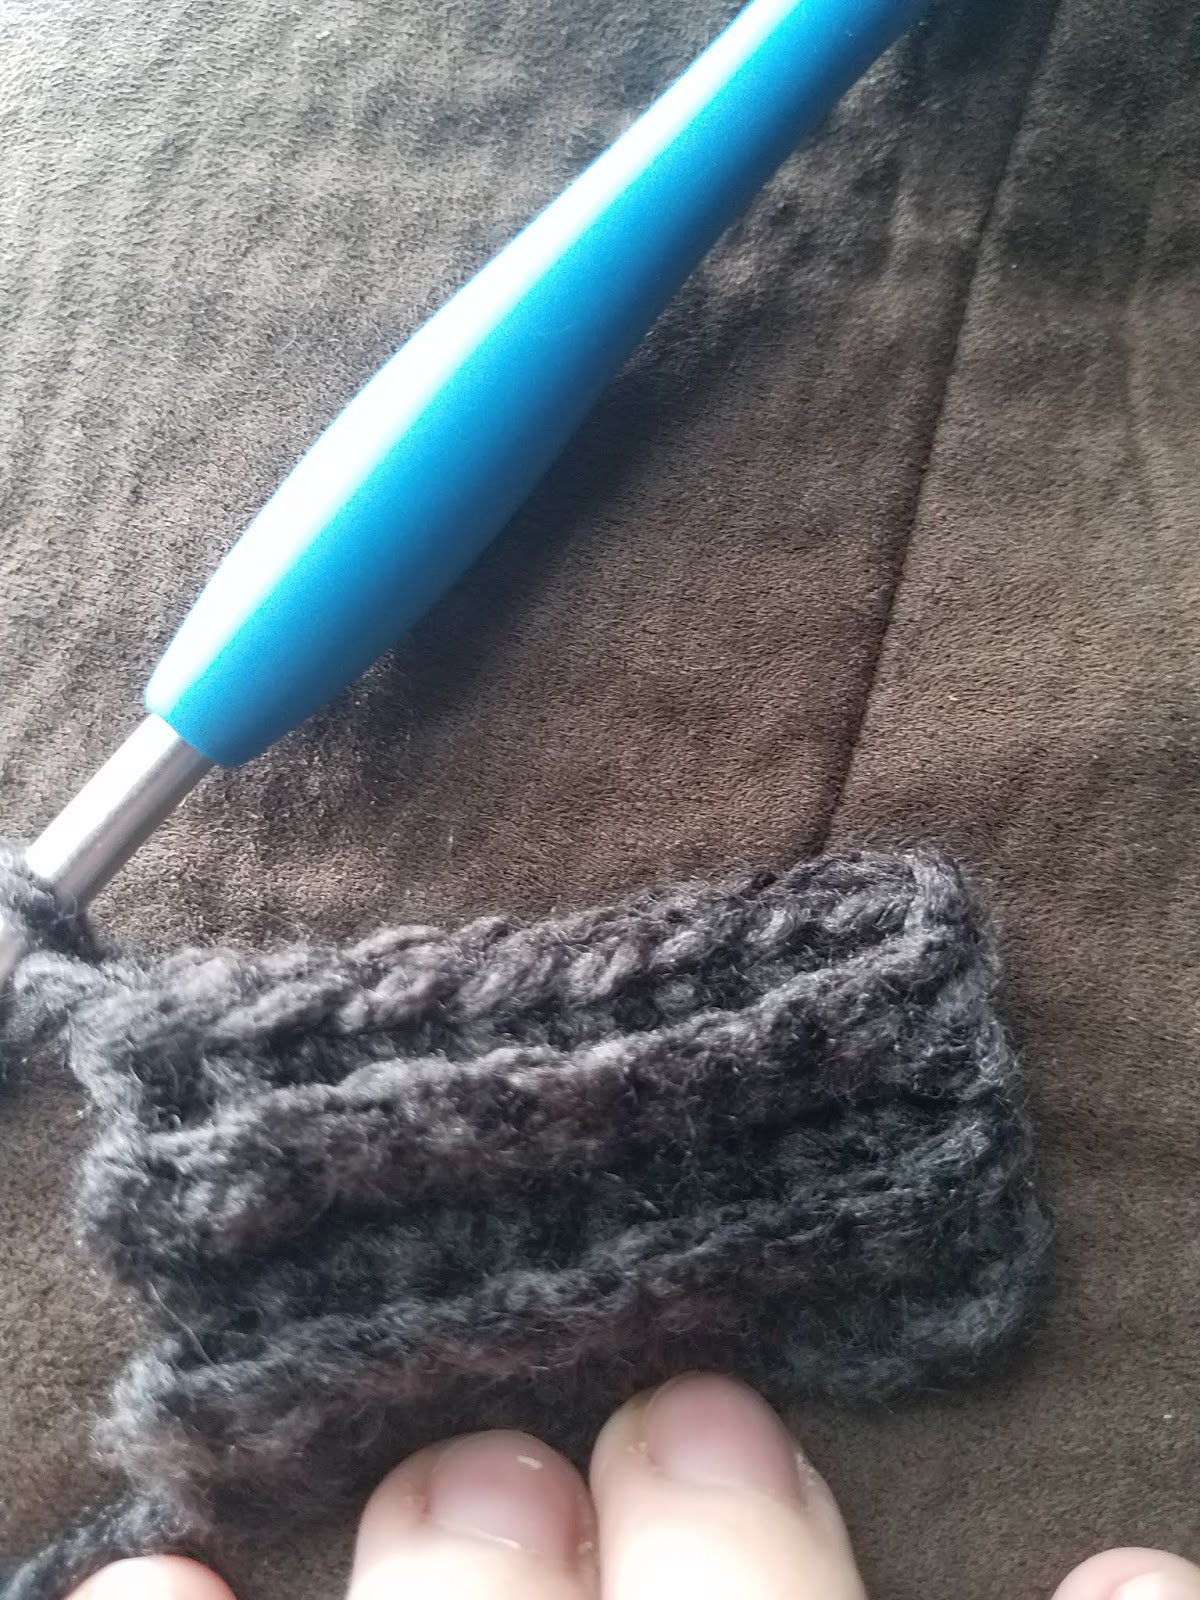
BRIM
1. Ch
13, SC in 2nd ch form hook, continue working SC until end of chain
(12)
13, SC in 2nd ch form hook, continue working SC until end of chain
(12)
2. Ch
1, turn, SC BL in each SC to end of row (12)
1, turn, SC BL in each SC to end of row (12)
Repeat 2 for an additional 66 rows
(68 Rows total)
(68 Rows total)
Join back to first row with Sl in
each stitch to form ring, do not tie off, begin hat stage
each stitch to form ring, do not tie off, begin hat stage
 |
 |
 |
 |
HAT
Hat is worked in
round, be sure to turn work with each round so the stitches are worked in
alternating directions.
round, be sure to turn work with each round so the stitches are worked in
alternating directions.
Round 1:
Ch 2 1 HB in each of your rows from the prior stage, Sl to top of 1st
HB to join (68)
Ch 2 1 HB in each of your rows from the prior stage, Sl to top of 1st
HB to join (68)
Round 2-9: Ch
2, turn work, 1 HB in each of Stitch, SL to top of 1st HB to join
(68)
2, turn work, 1 HB in each of Stitch, SL to top of 1st HB to join
(68)
Round 10:
Ch 2, turn, *HB2TOG (covers 2 stitches),1 HB in each of the next 5 stitches,
repeat from * until 5 st remain, HB2TOG, 1HB in last 3 stitches, Sl to top of
first HB2TOG to join. (58)
Ch 2, turn, *HB2TOG (covers 2 stitches),1 HB in each of the next 5 stitches,
repeat from * until 5 st remain, HB2TOG, 1HB in last 3 stitches, Sl to top of
first HB2TOG to join. (58)
Round 11: Ch
2, turn, *HB2TOG, 1 HB in each of next 4 stitches, repeat from * until 4
Stitches remain, HB2TOG, 1 HB in last two stitches, Sl to top of first HB2TOG
to join. (48)
2, turn, *HB2TOG, 1 HB in each of next 4 stitches, repeat from * until 4
Stitches remain, HB2TOG, 1 HB in last two stitches, Sl to top of first HB2TOG
to join. (48)
Round 12: Ch
2, turn, * HB2TOG, 1 HB in each of the next 3 stitches, repeat from * until 3
stitches remain, HB2TOG, 1HB in last stitch, Sl to top of first HB2TOG to join
(38)
2, turn, * HB2TOG, 1 HB in each of the next 3 stitches, repeat from * until 3
stitches remain, HB2TOG, 1HB in last stitch, Sl to top of first HB2TOG to join
(38)
Round 13:
Ch 2, turn, * HB2TOG, 1 HB in each of next 2 stitch, HB2TOG, repeat from * till
end of round, Sl to top of first HB (28)
Ch 2, turn, * HB2TOG, 1 HB in each of next 2 stitch, HB2TOG, repeat from * till
end of round, Sl to top of first HB (28)
Round 14:
Ch 2, turn, *HB2TOG, 1 HB in next stitch, HB2TOG, repeat from * until 2 stitch
remain, HB2TOG over last two stitches (so this round ends with an HB2TOG), Sl
to top of first HB2TOG to join. (18)
Ch 2, turn, *HB2TOG, 1 HB in next stitch, HB2TOG, repeat from * until 2 stitch
remain, HB2TOG over last two stitches (so this round ends with an HB2TOG), Sl
to top of first HB2TOG to join. (18)
Round 15: Ch 2, turn, HB2tog all the way around, sl to top
for 1st stitch in round, fasten off leaving a long tail to for
sewing together, (9)
for 1st stitch in round, fasten off leaving a long tail to for
sewing together, (9)
Using yarn needle, sew top shut by weaving through each
stitch in the circle, then pull tight to cinch circle together, fasten off and
weave in ends. Ensure that slip stitch seam
from brim is on the inside of hat prior to sewing shut.
stitch in the circle, then pull tight to cinch circle together, fasten off and
weave in ends. Ensure that slip stitch seam
from brim is on the inside of hat prior to sewing shut.
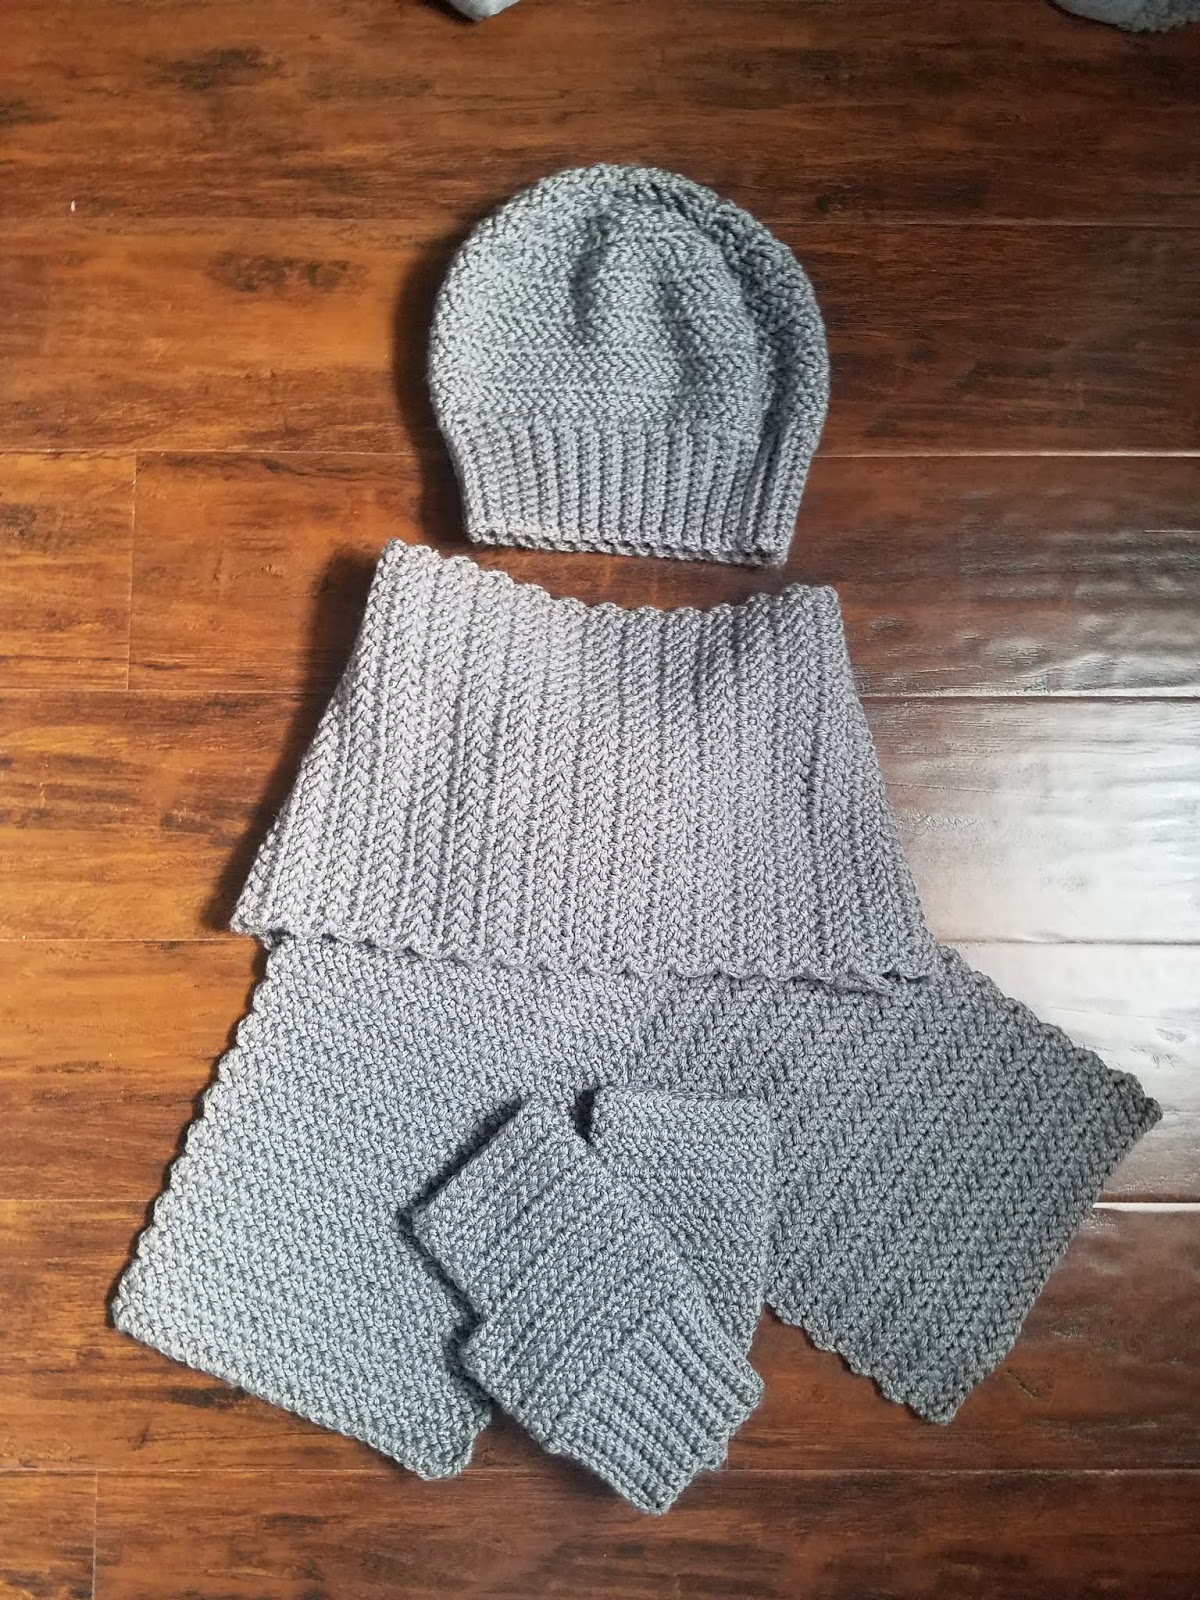

Fingerless mittens are not my pattern see @burgundyandblush on instagram for the pattern.